
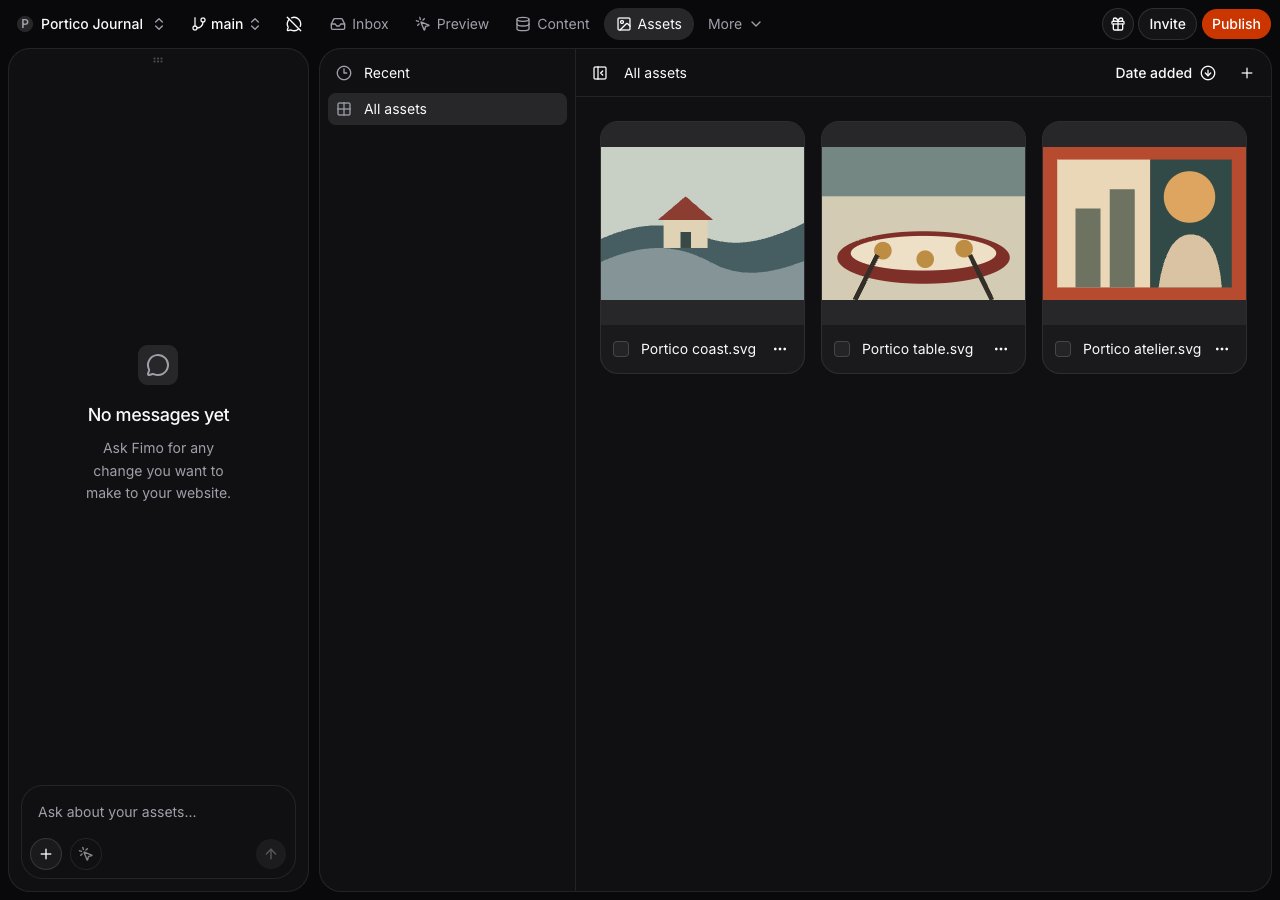
Add a file
1
Choose a folder
Open All assets or the folder where the file belongs.
2
Upload
Open the + menu and choose Upload File, or drag files onto the grid.
3
Review the file
Select the file to preview it. Update its name, alt text, or caption when needed.
Watch the storage allowance
The header shows how much media storage you have used against your allowance. That allowance is shared by every site in your organization, and it counts the optimized versions Fimo generates for each image, not only the file you uploaded. Past 75%, Fimo warns you that new uploads will be refused once the allowance is full. When it is full, an upload stops with Media storage allowance reached and tells you how much the file would have added. Delete files you no longer need to free up space, or review your plan. Some organizations have no limit, and the header says so. Deleting a file frees its space only when it is gone from the site. Removing it from one Branch leaves the shared file in place, so use Delete from site when you are reclaiming storage.Organize files
Use the + menu to create a folder. Right-click a file to move, rename, or delete it. Select several files to move or delete them together. Choose Recent to see recently changed files from every folder. Sort the current view by date, name, size, or type.Replace a file in content
Open a file’s details and choose Replace file. Choose a replacement, then select Continue to review how many references in the Current Branch will change. Choose Back or press Escape to return to the picker with your selection preserved. Closing the picker returns to the file’s details. References change only when you confirm the replacement; Main, the live site, other Branches, and the original file stay unchanged.Remove a file safely
Choose Delete on a file, then decide how widely to remove it:- Remove from Branch removes the file from your Current Branch. Fimo checks the Current Branch, Main, and Live to show where the file is used. The shared file stays available anywhere else in the site that still uses it.
- Delete from site opens a final confirmation before the file is permanently removed across the whole site. This cannot be undone.
Generate an image
1
Open the generator
Open the + menu and choose Generate Image.
2
Describe the image
Write what you want the image to show.
3
Choose its shape
Select an available aspect ratio, then start the generation. The result appears in the current folder.
Use files in chat
In AI chat, use the + button to attach an asset or upload a file. You can also type@ to reference an existing file by name.
Attaching an existing asset reuses the original file; it does not create another copy. Keep the original available if you want to open or inspect it again from chat. Deleting it from the site can leave older chat attachments unavailable, even if a previous description remains in the conversation.
What’s next
Visual editing
Replace an image from the site preview.
CMS
Use media in content entries.
AI chat
Ask Fimo to place or generate an image.